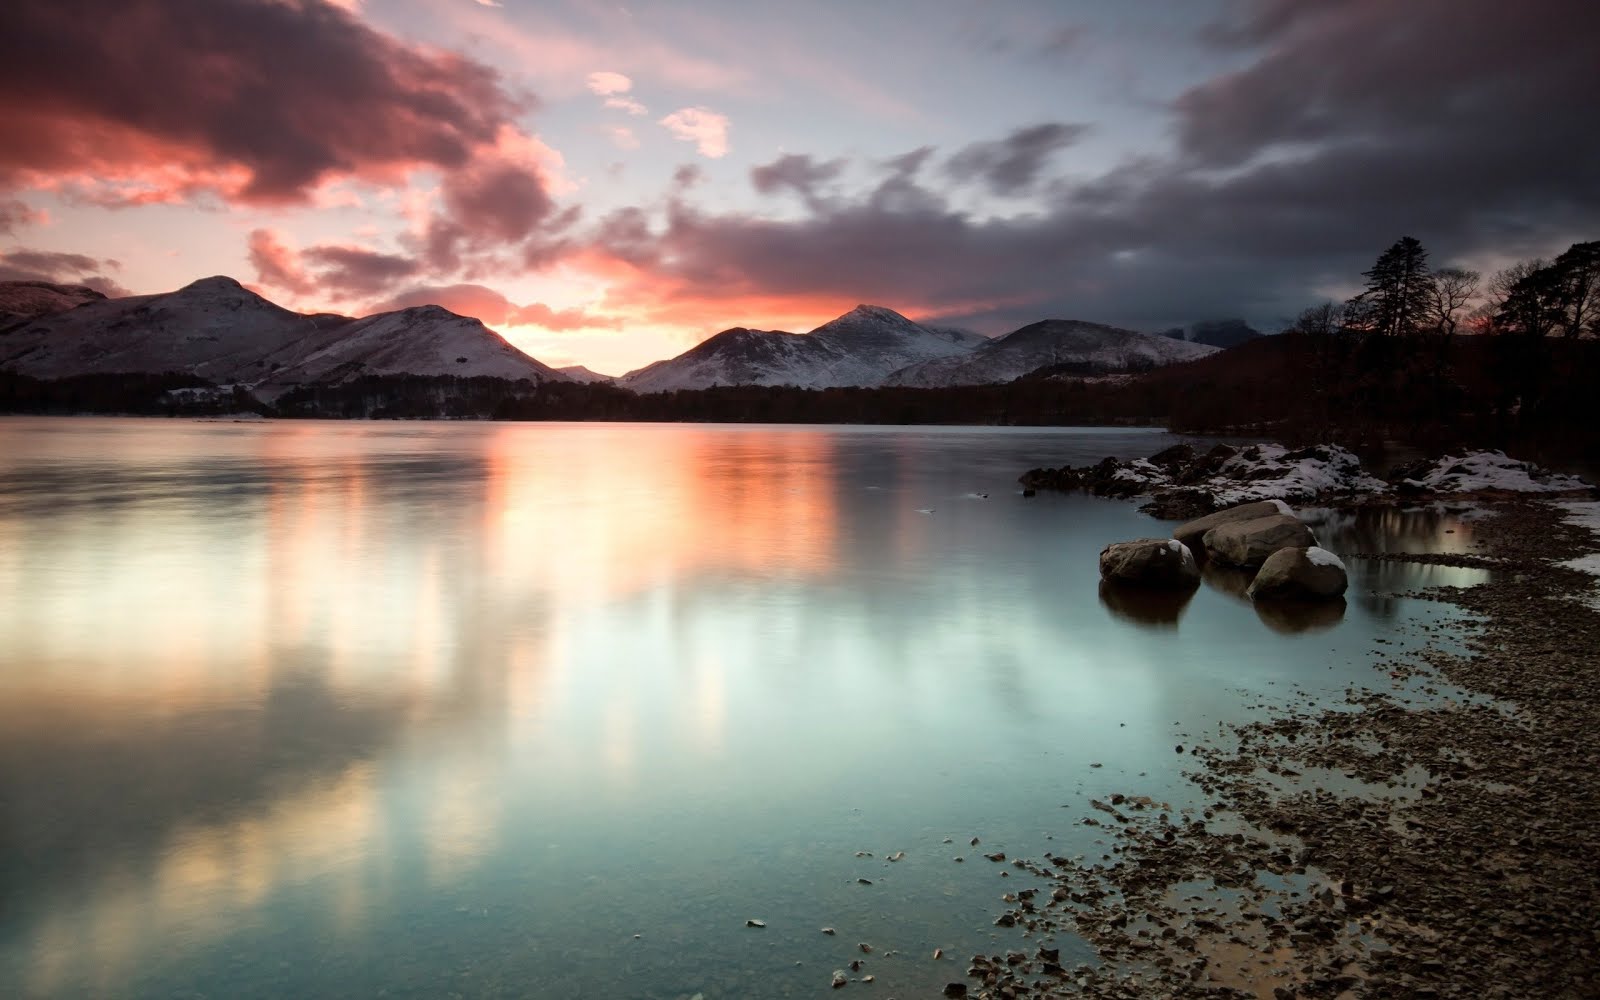
How to Set Your Camera Exposure Perfectly
Let’s start
this article by going to the basics. What is exposure? Exposure is used when
you want a certain amount of light to enter your camera. High exposure means
that more light will enter the camera sensor and the picture will be brighter.
Low exposure means that the resulted picture will be darker due to low light.
Light has a
great impact on a photo. It can affect the quality of the photo as well. Even
for professional photographers it can be hard to set camera exposure perfectly.
So I have decided to help you in perfecting your exposure setting.

Exposure is a
hurtle that even the most experienced photographers have a hard time jumping
over. Even the most prominent photography courses omit it from the first
lesson. Learning how to shoot goes much smoother if you learn how to set
exposure perfectly. You can learn exposure settings easily and make up for
missing it initially. So what influences exposure settings?
1. ISO- ISO is very important when it comes to exposure. It
is closely related to the nature of the sensor. ISO affects the way your camera
produces photos. So higher the ISO, the brighter your photo. But you should
remember that increasing ISO will also increase the noise in your photo. This
will lower the quality of your photo. Setting your ISO highly depends on the
setting in which you are shooting in.
2. Aperture- Aperture is set to control how much
light that enters the sensor. If we elaborate then aperture is the size of the
opening that leads to the sensor. Aperture is measured by focal length. An f/11
aperture means that there is less light entering the sensor because the hole is
small. You will get darker with high aperture. On the other hand f/1.2 setting
lets more light through the opening towards the sensor.
3. Shutter speed- Shutter speed is measured by
fractions. The bigger the denominator the greater the shutter speed. Setting
the exposure perfectly depends on which end of the spectrum your shutter speed
is. For example- 1/200 means less light and 1/10 speed means more light.
How to
set exposure?
The first
step is to meter the camera. You want your image to be brighter? Decrease the
aperture and shutter speed, but do increase the ISO.
You want
your image to be darker? Then do the vice versa. Lowering the ISO and increasing the shutter speed and aperture
should give u a darker picture.
You may have
seen photography in full auto mode. That mode makes the camera take all the
actions and your camera adjusts everything. We would advise you to use manual
mode to learn.
If you half
press the shoot button then you will hear a beep and the setting down. The
camera will display the exact ISO, shutter and aperture that are set. A great
indicator is ELI. To set your exposure perfectly you can use this exercise-
· Pick a specific time of day, two-three times a
week.
· Select one outdoor and one indoor spot.
· Interchange the settings and produce 100 photos
per spot.
· Have a notebook by your side, and record the
settings
to know which exposure fits you best.

Problems
People face when setting exposure
● if the light is decent,
but not great, you should bump your ISO up. Therefore, you won't damage the
shot and will retain the light you need.
● shooting moving people means that high shutter speed is mandatory. Setting it that way result in motion shots being devoid of blurs and remaining clear.
● when zooming, decrease the shutter speed and the ISO. Too much ISO means that the quality of the photo will be even worse.
● shooting moving people means that high shutter speed is mandatory. Setting it that way result in motion shots being devoid of blurs and remaining clear.
● when zooming, decrease the shutter speed and the ISO. Too much ISO means that the quality of the photo will be even worse.
To end on some final words
pictures that are too bright require you to increase your shutter speed and
aperture and reduce ISO. On the other hand increasing the ISO and decreasing
the other two parameters will give you ideal exposure when pictures are too
bright. Practice on manual mode and perfect your photography.

Comments
Post a Comment